Export Contacts by company category.
If you would like to export a list of contacts based on their company category, this is how you do it.
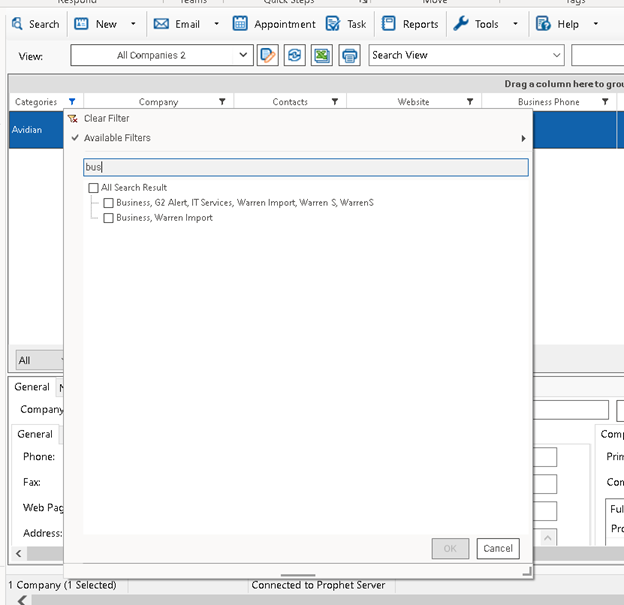
Filter your “All Companies” view by category. You can only do this with the filter icon, not the view settings.
(In this example, we will filter based on the category “Business”)
Do a “Quick Export to Excel” and export all rows.
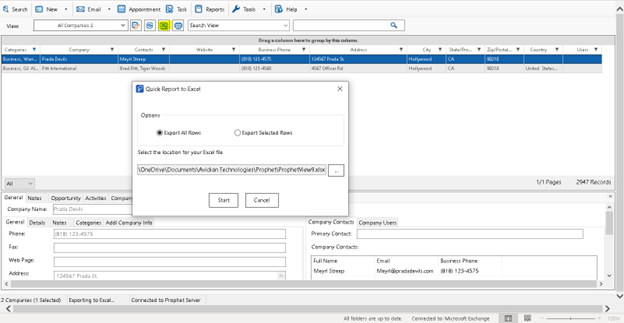
You will then have an Excel file with all the companies you need. Hang on to that for later.
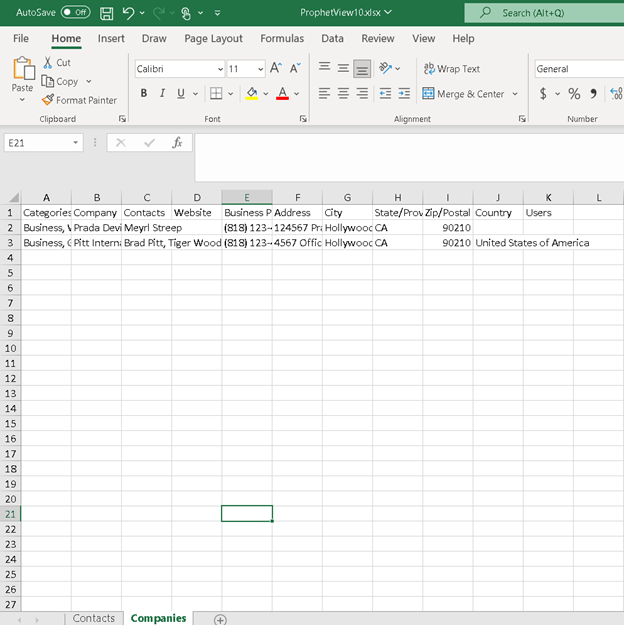
Switch to “Contact Manager” and go to your “All Contacts” view. Export all contacts just like you did for the companies.
You now have two Excel spreadsheets, one for companies and another for contacts. Merge those spreadsheets into one workbook. I have named my spreadsheets “Companies” and “Contacts” to keep track.
On the Contacts sheet, use the VLOOKUP function as shown in the screenshot below.
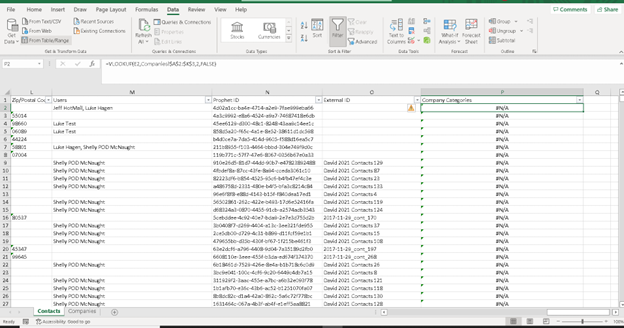
The VLOOKUP function can be used to lookup any value(s) from another table or another spreadsheet in Excel.
E is the column that contains all the company names for my contact list. We need this value to retrieve the company categories on the “Companies” sheet. Row 2 is the first column, so the first function input is E2.
“Companies!” Is the name of the spreadsheet, followed by the table range, which for me is A2:K3. The dollar signs are necessary to make sure Excel doesn’t autoincrement to A3:K4, A4:K5, and so on.
2 is the distance between my “Company” column and “Categories” column on my spreadsheet.
And the last input is “false” meaning that I want an exact match only.
You may need to adjust these arguments depending on the format of your spreadsheets.
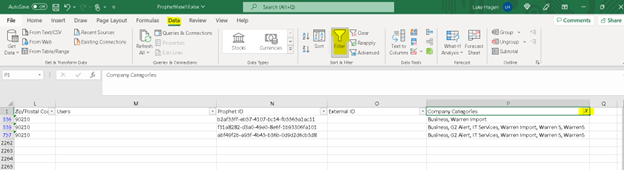
As you can see in the screenshot above, most of my contacts have the category “#N/A”. This means that the contacts company name wasn’t found on the other spreadsheet. You can use Excel’s filter option to filter only the contacts that have the defined categories.
Luke Hagen
Comments